How to Fish a Drop Shot Rig for Bass: A Practical 2026 Guide to Setup, Leader Length, and Subtle Retrieves
Learn how to fish a drop shot rig for bass with the right spinning setup, leader length, hook style, weight size, and retrieve so you can stay in the strike zone longer and catch pressured fish more consistently.
A lot of anglers treat the drop shot like a backup plan for bad days. That undersells it. A drop shot is one of the cleanest ways to keep a bait in front of bass that are suspended, pressured, inactive, or simply unwilling to chase something moving too fast.
That is why it still matters in 2026. Electronics have made more anglers aware of fish that are present but not fully committed, and a drop shot is still one of the best answers when you need a small bait, controlled depth, and subtle action instead of speed or noise.
The concept is simple. Your hook sits above the weight, which keeps the bait hovering off bottom while the sinker maintains contact. That lets you shake, hold, drag, or dead-stick the rig without constantly pulling the bait out of the strike zone.
Why the drop shot still catches so many bass
The drop shot shines because it solves a very specific problem: how to present a soft plastic naturally while still knowing exactly where the rig is. You get bottom contact from the weight, but the bait stays above the silt, rock, or scattered grass where bass can see it better.
It is especially useful when:
- bass are suspended or slightly off bottom
- the water is clear or moderately clear
- fish are pressured and inspecting baits closely
- wind or depth makes other finesse rigs harder to control
- you need to fish vertically or make repeated casts to one depth band
It is less useful when fish are buried deep in thick vegetation, heavy wood, or the kind of cover where a fully weedless Texas rig is simply the cleaner tool.
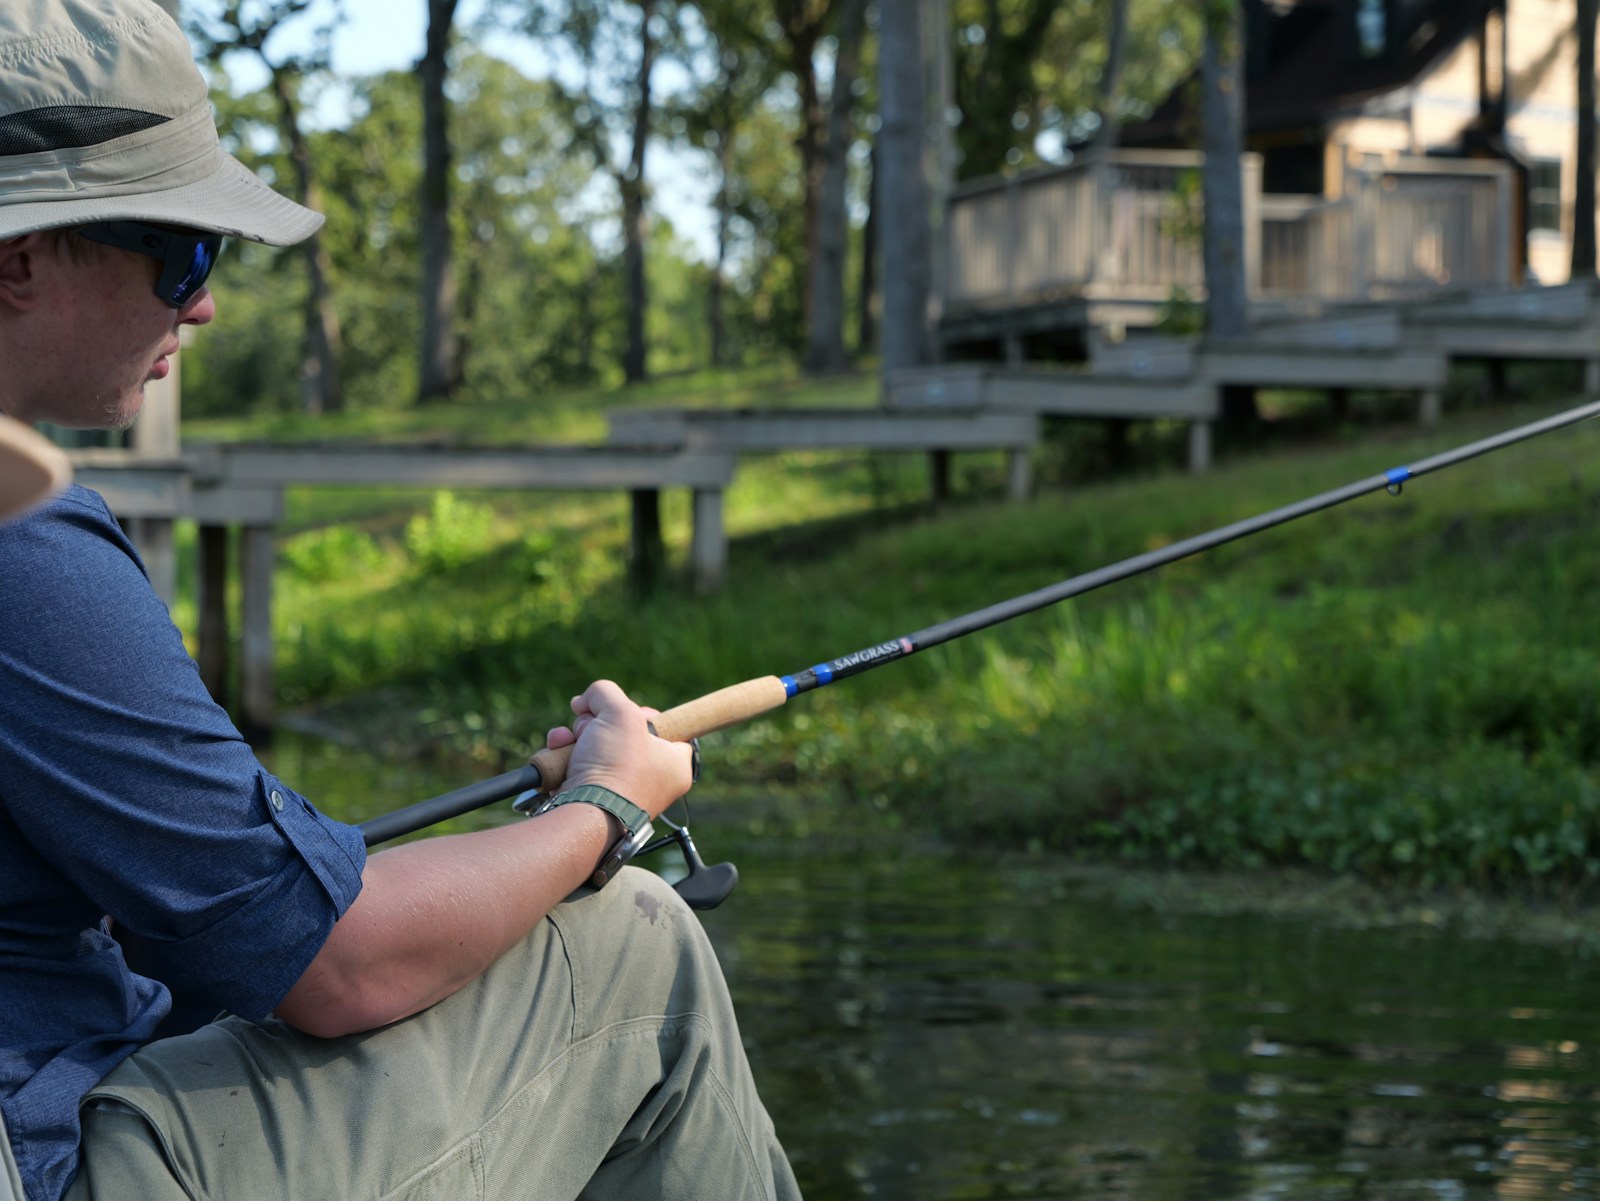
The setup that makes learning easier
For most anglers, the easiest starting setup is a 6’10” to 7’3” medium-light or light-medium spinning rod with a fast or extra-fast tip, paired with a 2000 to 3000 size spinning reel. That kind of rod loads easily with light weights, transmits subtle bites well, and still protects lighter leader material on the hookset.
A practical starting line system is:
- 10 to 15 pound braid as the main line
- a 6 to 10 pound fluorocarbon leader
- a leader length of roughly 4 to 6 feet between braid and hook when using a braid main line
Straight fluorocarbon still works, especially in clean open water, but braid with a fluorocarbon leader gives you better sensitivity, easier line management, and more control in wind or deeper water.
Step 1: Start with the lightest weight that still keeps contact
Action: Begin with 3/16 ounce as the all-around starting point, then move lighter or heavier based on depth, wind, and current.
Common mistake: Jumping straight to a heavy sinker because it feels easier to detect.
Expected feel: You should feel the weight touch bottom clearly without the whole rig feeling stiff or overpowered.
A simple rule helps:
- 1/16 to 1/8 ounce for calm, shallow, or very finesse situations
- 3/16 ounce for general-purpose use
- 1/4 ounce or heavier for deeper water, stronger wind, or current
The point is not to fish the tiniest possible weight. The point is to fish the lightest weight that still lets you stay connected.
Leader length changes the whole presentation
One of the easiest ways to improve a drop shot is to stop using the same hook-to-weight distance everywhere.
In shallower water or when fish are feeding tight to bottom, a 6 to 10 inch leader below the hook often keeps the bait close enough to look natural and precise. In deeper water, over rock, or when fish are clearly suspended higher, 12 to 18 inches is often the better starting range.
Step 2: Match the hook-to-weight distance to where the fish are actually looking
Action: Keep the leader shorter when fish are pinned near bottom, and lengthen it when you want the bait riding above rock, sparse grass, or visible suspended fish.
Common mistake: Fishing an 18-inch leader everywhere because that is what came pre-rigged from a package or video.
Expected feel: The sinker should stay where the structure is, while the bait rides at the level where bass can find it quickly.
If you are seeing fish on electronics but not getting bites, leader length is one of the first things worth changing.
Nose-hooking vs. weedless: choose by cover, not by habit
A nose-hooked bait usually has the best natural action and the best hookup percentage. It is the clean choice in open water, over gravel, sand, shell, or scattered rock. The bait pivots freely and needs very little rod movement to look alive.
A weedless version, usually with a finesse wide-gap or small EWG-style hook, becomes more useful around brush, dock edges, sparse grass, or places where an exposed point snags too often.
Step 3: Use nose-hooking in open water and go weedless only when the cover forces the issue
Action: Start with an exposed hook for better action and cleaner hookups, then switch to a weedless rig when snags start costing too much time.
Common mistake: Fishing a weedless setup in open water just because it feels safer.
Expected feel: A nose-hooked bait should look lighter and more responsive. A weedless rig should trade a little action for cleaner travel through cover.
Neither setup is universally correct. The right answer depends on whether the cover or the fish is the bigger problem that day.
The best retrieve is usually smaller than you think
Many beginners overwork a drop shot because the rig looks too subtle. In reality, that subtlety is the point.
The most reliable sequence is simple: cast past the target, let the rig fall on semi-slack line, let the weight settle, then add tiny shakes, slight drags, brief pauses, or long dead-sticks while keeping the sinker in contact with bottom.
Step 4: Move the rod tip just enough to animate the bait, not enough to move the rig out of place
Action: Shake lightly with the rod tip while keeping the sinker mostly anchored, then pause and let the bait hover.
Common mistake: Pulling the entire rig forward every few seconds and removing it from the strike zone.
Expected feel: The sinker should stay in touch with the bottom while the bait quivers above it instead of sweeping away.
Three retrieves cover most situations:
- shake and hold when fish are present but hesitant
- dead-stick when bass are staring at the bait and want less movement
- drag and stop when you need to cover a little water across points, flats, or depth changes
When the drop shot is strongest
The drop shot works year-round, but it becomes especially valuable when bass are harder to trigger.
It is at its best when:
- post-spawn fish are recovering and not fully aggressive
- summer fish slide deeper or suspend off structure
- winter fish want slow, controlled presentations
- clear water makes fish inspect a bait before eating
- forward-facing sonar or traditional electronics show fish that will not commit to faster presentations
That last point matters in 2026. More anglers are using electronics to spot fish that are nearby but not feeding hard. A drop shot remains one of the easiest ways to put a bait in that fish’s face without making the presentation feel unnatural.
Hooksets and line control
The drop shot does not reward a giant swing. With light line and smaller hooks, a hard snap hookset often creates the exact problems you were trying to avoid.
Step 5: Reel down and lift instead of swinging hard
Action: When you feel pressure or see the line load, reel until the rod starts to bend, then lift firmly.
Common mistake: Making a violent upward hookset that breaks light leader or rips the bait away.
Expected feel: The rod loads smoothly, the hook pins cleanly, and the fish stays connected without a shock load.
This matters even more with exposed-hook nose-hooked setups, where a controlled lift usually penetrates just fine.
Common beginner mistakes that cost fish
Most drop shot problems come from overcomplication.
Watch for these:
- using a sinker that is heavier than the situation requires
- over-shaking the rod tip
- never changing the hook-to-weight distance
- throwing the same exposed hook into snaggy cover all day
- swinging too hard on the bite
- fishing line that is too heavy for a finesse presentation
- tying the hook poorly and forgetting to run the tag end back through the eye so the hook stands correctly
If the rig feels awkward, simplify it. Use one worm shape you trust, one sensible hook size, one weight that matches the depth, and focus on keeping the bait where the fish actually are.
A simple starter setup that works in most places
If you want a dependable starting point, use this:
- 7-foot medium-light fast spinning rod
- 2500 size spinning reel
- 10-pound braid main line
- 8-pound fluorocarbon leader
- size 1 or 1/0 drop shot hook
- 3/16 ounce weight
- 4.5- to 6-inch finesse worm or small baitfish-style plastic
That setup is not perfect for every lake, but it is close enough to be effective in a huge range of clear-water, rock, point, dock, and offshore situations.
Final thought
The drop shot is not a panic button. It is a precision tool. Once you understand how weight size, leader length, hook style, and subtle movement work together, it becomes one of the easiest ways to keep a bait in front of bass that refuse faster presentations.
Fish it lighter than your instincts want, move it less than your ego wants, and pay attention to where the bass are actually sitting. That is usually when the drop shot starts making a lot more sense.